WordPress Plugin
We provide a package format (GGPKG) to make it easy for you to embed your panoramas on your CMS site or blog. Below are the instructions for WordPress.
✭ The plugin works only with the self-hosted WordPress publishing platform (wordpress.org). The plugin will not work on wordpress.com sites.
Install the WordPress Plugin
-
Log in to your WordPress site.
-
In the Dashboard’s left sidebar, hover over Plugins to bring up a menu. Click, Add New.
-
Search for our plugin, Garden Gnome Package.
-
Click, Install Now.
-
Select, Activate Plugin.
The plugin will now be in the Plugins list.
To delete the plugin
-
Under the plugin name, select Deactivate.
-
Select, Delete.
-
Choose, Yes.
Add the Image or Tour to a Post
Before you can add the GGPKG to a post, you must first install the plugin.
First, export your image or tour using the Generate GGPKG button in the HTML5 output settings. The package format is like a ZIP. Once the package is uploaded to WordPress, your project will be unpacked/unzipped and you will see your image/tour in the Media Library.
Using the Widget
-
Add a new post.
-
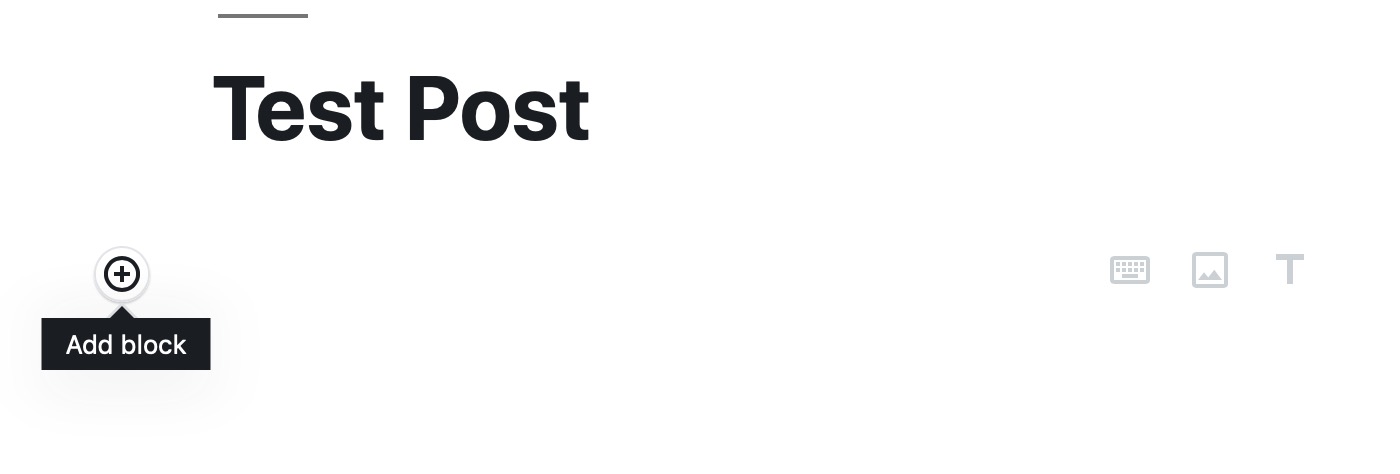
Add a block.
-
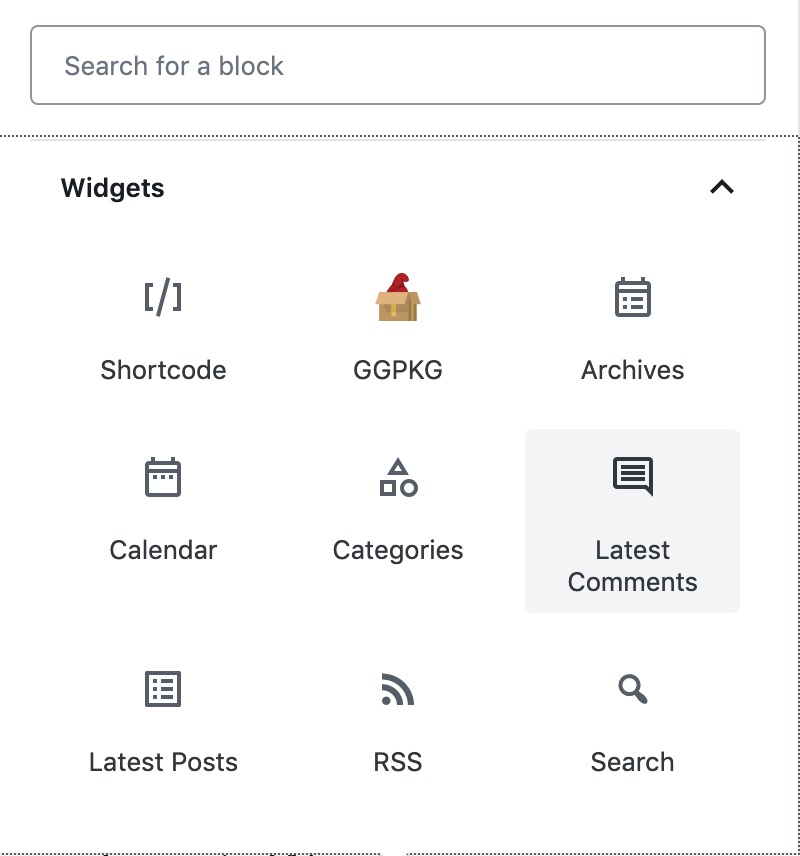
Find the Widgets tab and the GGPGK widget.
-
Add the image or tour to the page. Select, Select Package and then choose your image or tour or drag your package to upload it, if you haven’t done so already.
Using the Classic Editor
The Classic Editor will give you the package ID in a Shortcode. Once you have the ID, you can just use the Shortcode widget.
-
Add a new post.
-
Add a block.
-
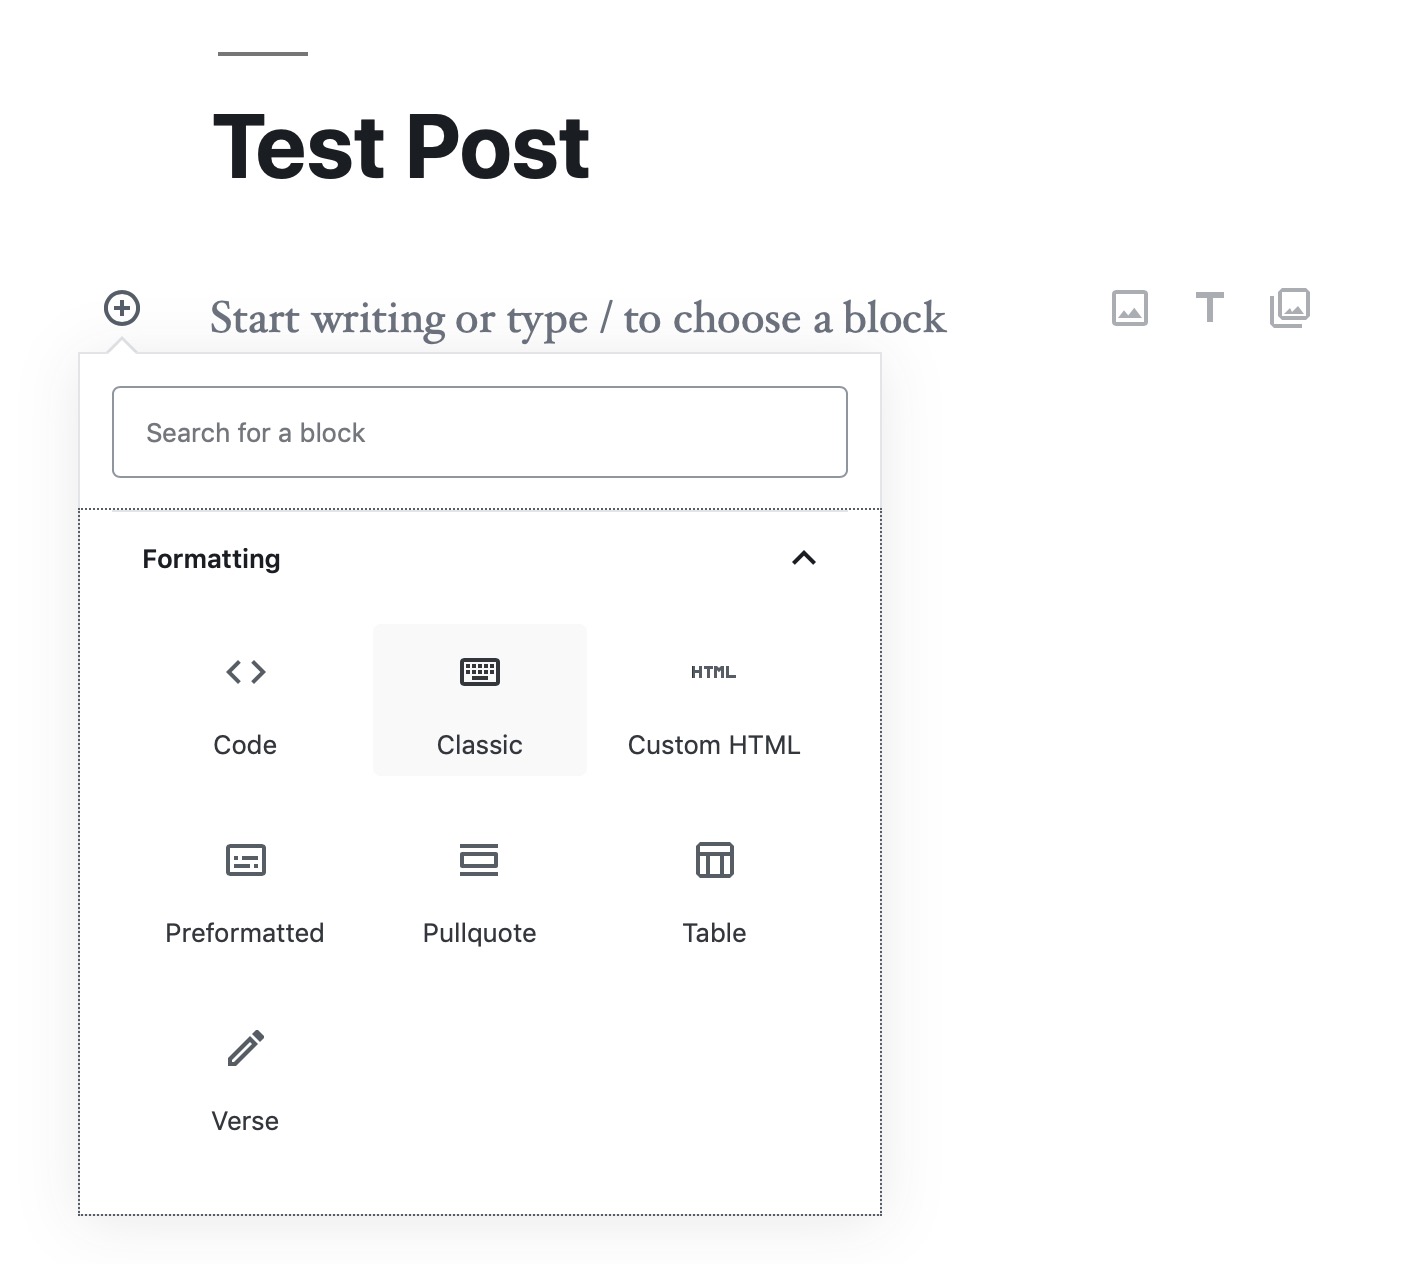
Find the Formatting tab and choose, Classic.
-
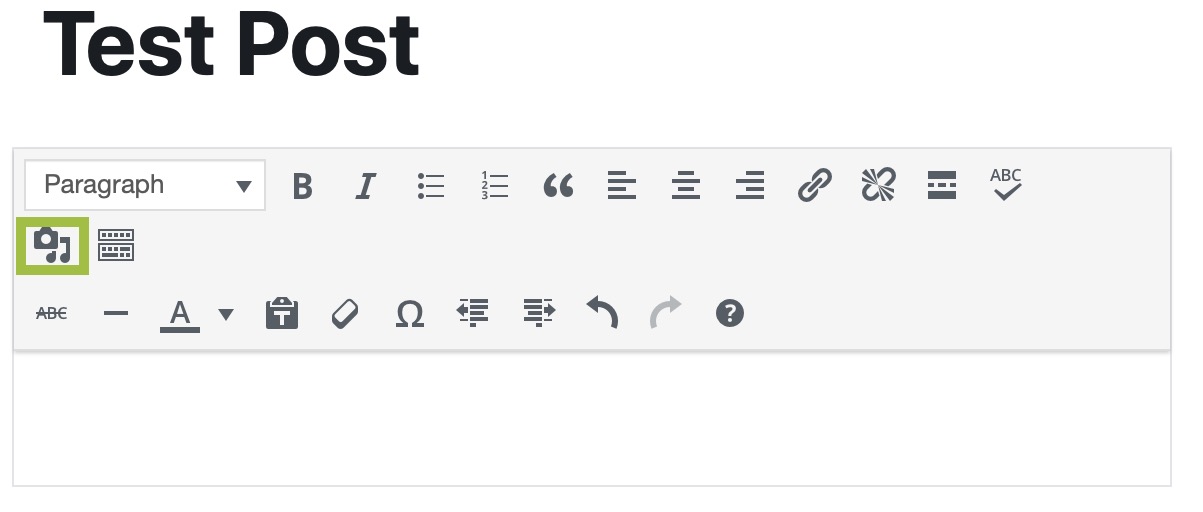
Click the Add Media button and then drag the GGPKG to the media library (to upload it) or select the tour or image from the library. Click, Insert into post.
-
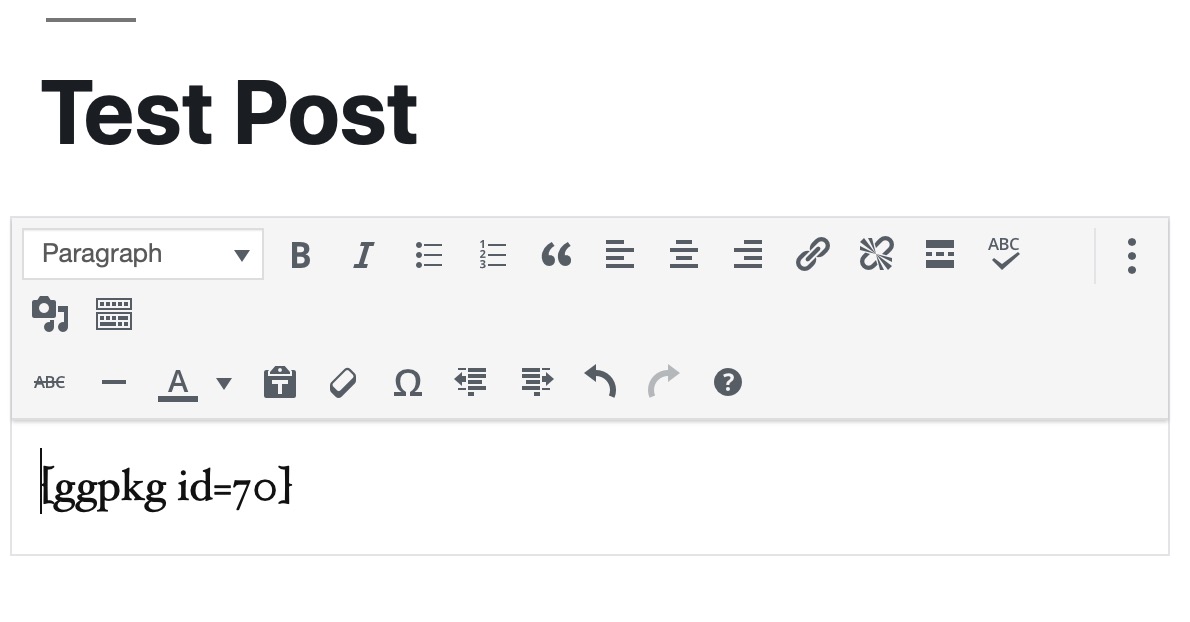
Once the image or tour has been inserted in the post, you’ll see something like this:
This is the shortcode for the image or tour. In the example above, the number is the media’s unique ID assigned by WordPress.
Each package can be customized using attributes. -
Preview and/or publish your post.
Uploading Large Files
If you need to upload projects to WordPress but are limited by the upload file restrictions, then the easiest solution to install the plugin, BigFile Plugin.
Another solution is to convert a normal HTML5 output to a light-weight package to get past the file size restrictions. Upload the package without the images and tiles folders and then once the uploaded to WordPress, use an FTP to add the images and tiles folders.
Another option would be to host the project files elsewhere and use the shortcode, url='example.com/mytour.index'.
Garden Gnome Package Settings
The Plugin settings are found in the WordPress Settings in the Dashboard.
General Settings
These settings affect all instances of GGPKG; both from Pano2VR and Object2VR. Changes can be done on an individual basis using the attributes or in the post’s sidebar.
Player size – Defines the default size of the player.
Start player as preview image – The player will load and start playing when the user clicks the preview image. This is handy for when there are multiple projects on one page and some or all, for example, have background sound. This prevents them from playing all at once.
Pano2VR
Player Version – Choose a version from an already uploaded package. Once you upload packages, you will see a list of all the the player versions that are available. This is useful for when the embedded project doesn’t work as expected suddenly, but it’s known that a previous version worked. You can then choose that previous version.
Object2VR
Player Version – Choose a version from an already uploaded package. Once you upload packages, you will see a list of all the the player versions that are available. This is useful for when the embedded project doesn’t work as expected suddenly, but it’s known that a previous version worked. You can then choose that previous version.
Troubleshooting
If your project has popup images or videos, or has embedded galleries, etc., you’ll need to add the placeholder $(r) in the embed code:
<iframe src="$(r)assets/$(hd)/index.html" width="100%" height="100%" allowfullscreen="true" mozallowfullscreen="true" webkitallowfullscreen="true" frameborder= "0" ></iframe>
More information found here.
