Output Panel
The Output panel is where you choose output formats for your project. There are also buttons to generate and open the output and to upload the project to Gnome Cloud.
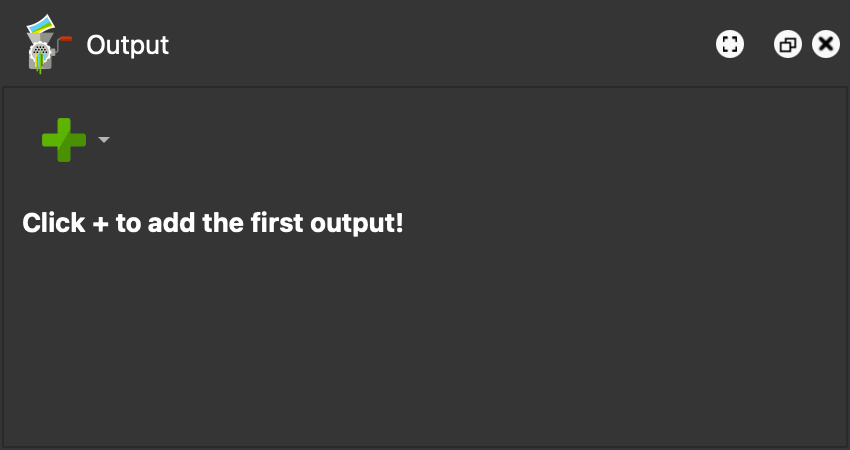
Add an Output Format
To add an output format, click the green plus sign. Choose from the following formats:
- Web – A tour for the web browser.
- Transformation – A remapped image, for example a thumbnail, a little planet, or cube faces.
- Animation – A flat video or an image sequence made from an animation sequence.
- from Template – Choose one of your saved output templates.
Once you choose an output format, the rest of the panel fills with the following options.
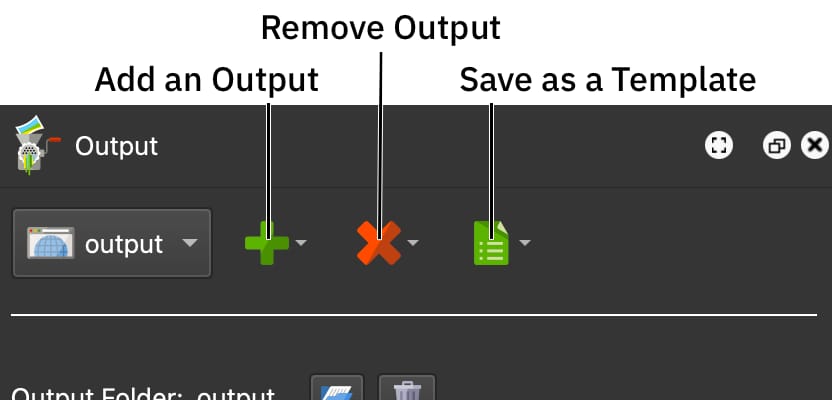
Output Type – Shows the current output. If the project has more than one output, choose the one to work on here.
Add an Output – Click the green plus button to add a new output or to choose an output template.
Delete Output – Click to choose Delete Current Output, or choose a template from Delete Template to delete it.
Save as Template – Save the current output and its settings as a template that you can use again. Choose Save as New Template and enter a name in the dialog that appears, or choose an existing template from Replace Template to overwrite it.
Templates are stored in the Output Templates folder set in the Files settings.
A-Z, a-z, 0-9, and _ (underscore), so no spaces or special characters.Output Folder
Folder – The folder all files of this output are written to. Click the folder icon to choose a different folder.
Erase Output Folder – Click the trash can icon to delete everything in the output folder, subfolders included. Press and hold the button, then choose Erase Output Folder But Keep Tiles to keep the tiles you already created, so the next export does not have to render them again. Pano2VR refuses to erase a folder that holds your project files.
Generate and Open the Output
Generate Output – Click the gear button to create the current output (Option-Command-G on macOS, Ctrl+Alt+G on Windows). Option-click (macOS) or Alt-click (Windows) the button to create all outputs of the project, one after the other.
Open Output – Click to look at the output once it has been created. What happens depends on the output:
- Web – The tour opens in your browser through the Integrated Web Server. If the tour is already open in a browser tab that is connected to the web server, that tab loads the output again instead of a new tab opening. Shift-click the button to open it in a new tab anyway. A Garden Gnome Package output is shown in the Finder (macOS) or File Explorer (Windows) instead.
- Transformation – The image opens in your default image viewer.
- Animation – The video opens in your default video player. When you have also rendered clips as separate videos, the button opens a menu instead: choose Main Animation or one of the clip videos. See Animation Output for how to render clips separately.
Web outputs also show the skin selection, the Live Update button, and buttons to generate a Garden Gnome Package and to upload the project to Gnome Cloud. These, and the settings each output has in the Properties panel, are described in Web Output Properties, Transformation Output Properties, and Animation Output Properties.