Normal Template
The normal HTML template is the default template that is used when exporting a web output. Use the template parameters to quickly configure it.
To configure the template, click the Edit Template button in the Web Output Properties. The settings are stored with the output.
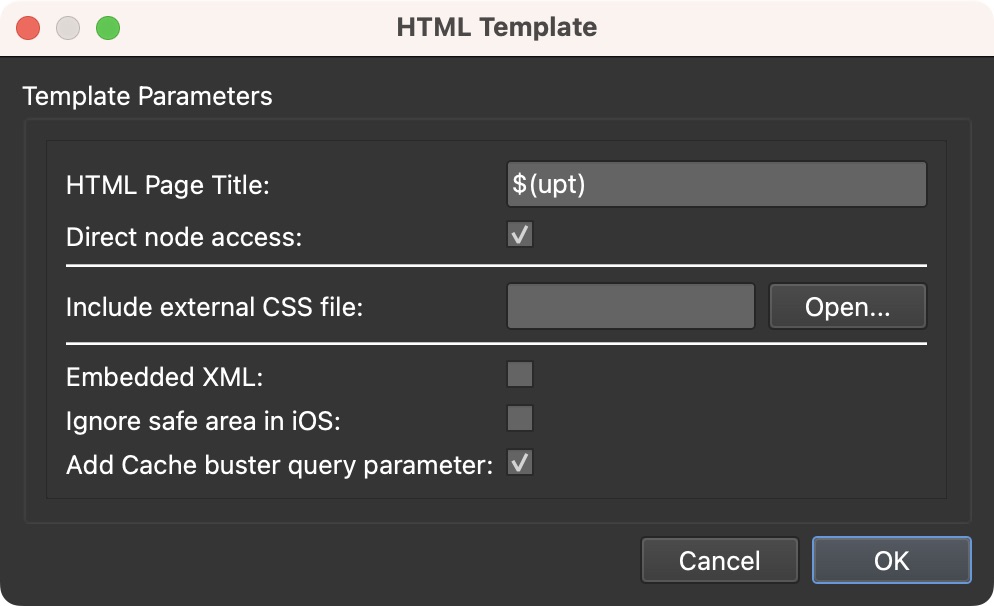
HTML Page Title – The title of the HTML page, shown in the browser tab and used by search engines and social media. Enter the title here, or use placeholders to take it from the project’s User Data:
- $(upt) – Title (the default)
- $(upd) – Description
- $(upa) – Author
- $(upe) – Date/Time
- $(upc) – Copyright
- $(ups) – Source
- $(upi) – Information
- $(upo) – Comment
- $(ufn) – Custom node ID
Direct node access – Selected by default. Opens the node whose ID follows
the # in the address, for example index.html#node5. You can add a view after
the node ID, separated by commas: pan, tilt, field of view, and optionally the
projection, for example index.html#node5,90,0,70. See
Direct Node Access.
Add social media metadata – Select to add the meta tags that social media
platforms and messengers read when someone shares a link to the tour: Open Graph
tags for Facebook and most other platforms, and card tags for X. Shared links
then show the page title, the project’s description, and a preview image. Two
cropped preview images are added to the output: preview_social.jpg (1200 x 630
pixels) and preview_twitter.jpg (1200 x 675 pixels). Both are made from the
project’s
Custom Preview image,
or from the start node’s default view when there is none.
Social media platforms need complete web addresses for the page and the image. Enter the Publish URL in the Project Properties so the tags carry them; without it, they only contain file names.
Generate SEO pages and sitemap for nodes with the seo tag – Select to
create a search engine friendly landing page for every node tagged seo, and a
sitemap.xml listing them. See
Landing Pages for Search Engines below. As the note under
the checkbox says, the sitemap and the pages’ canonical links need the Publish
URL in the Project Properties.
Include external CSS file – Choose a CSS file to add to the page, for
example to style your skin elements. It is copied to the output as styles.css.
Embedded XML – Embeds the tour configuration in the HTML file instead of loading it from a separate XML file. Use it when the external XML file cannot be read.
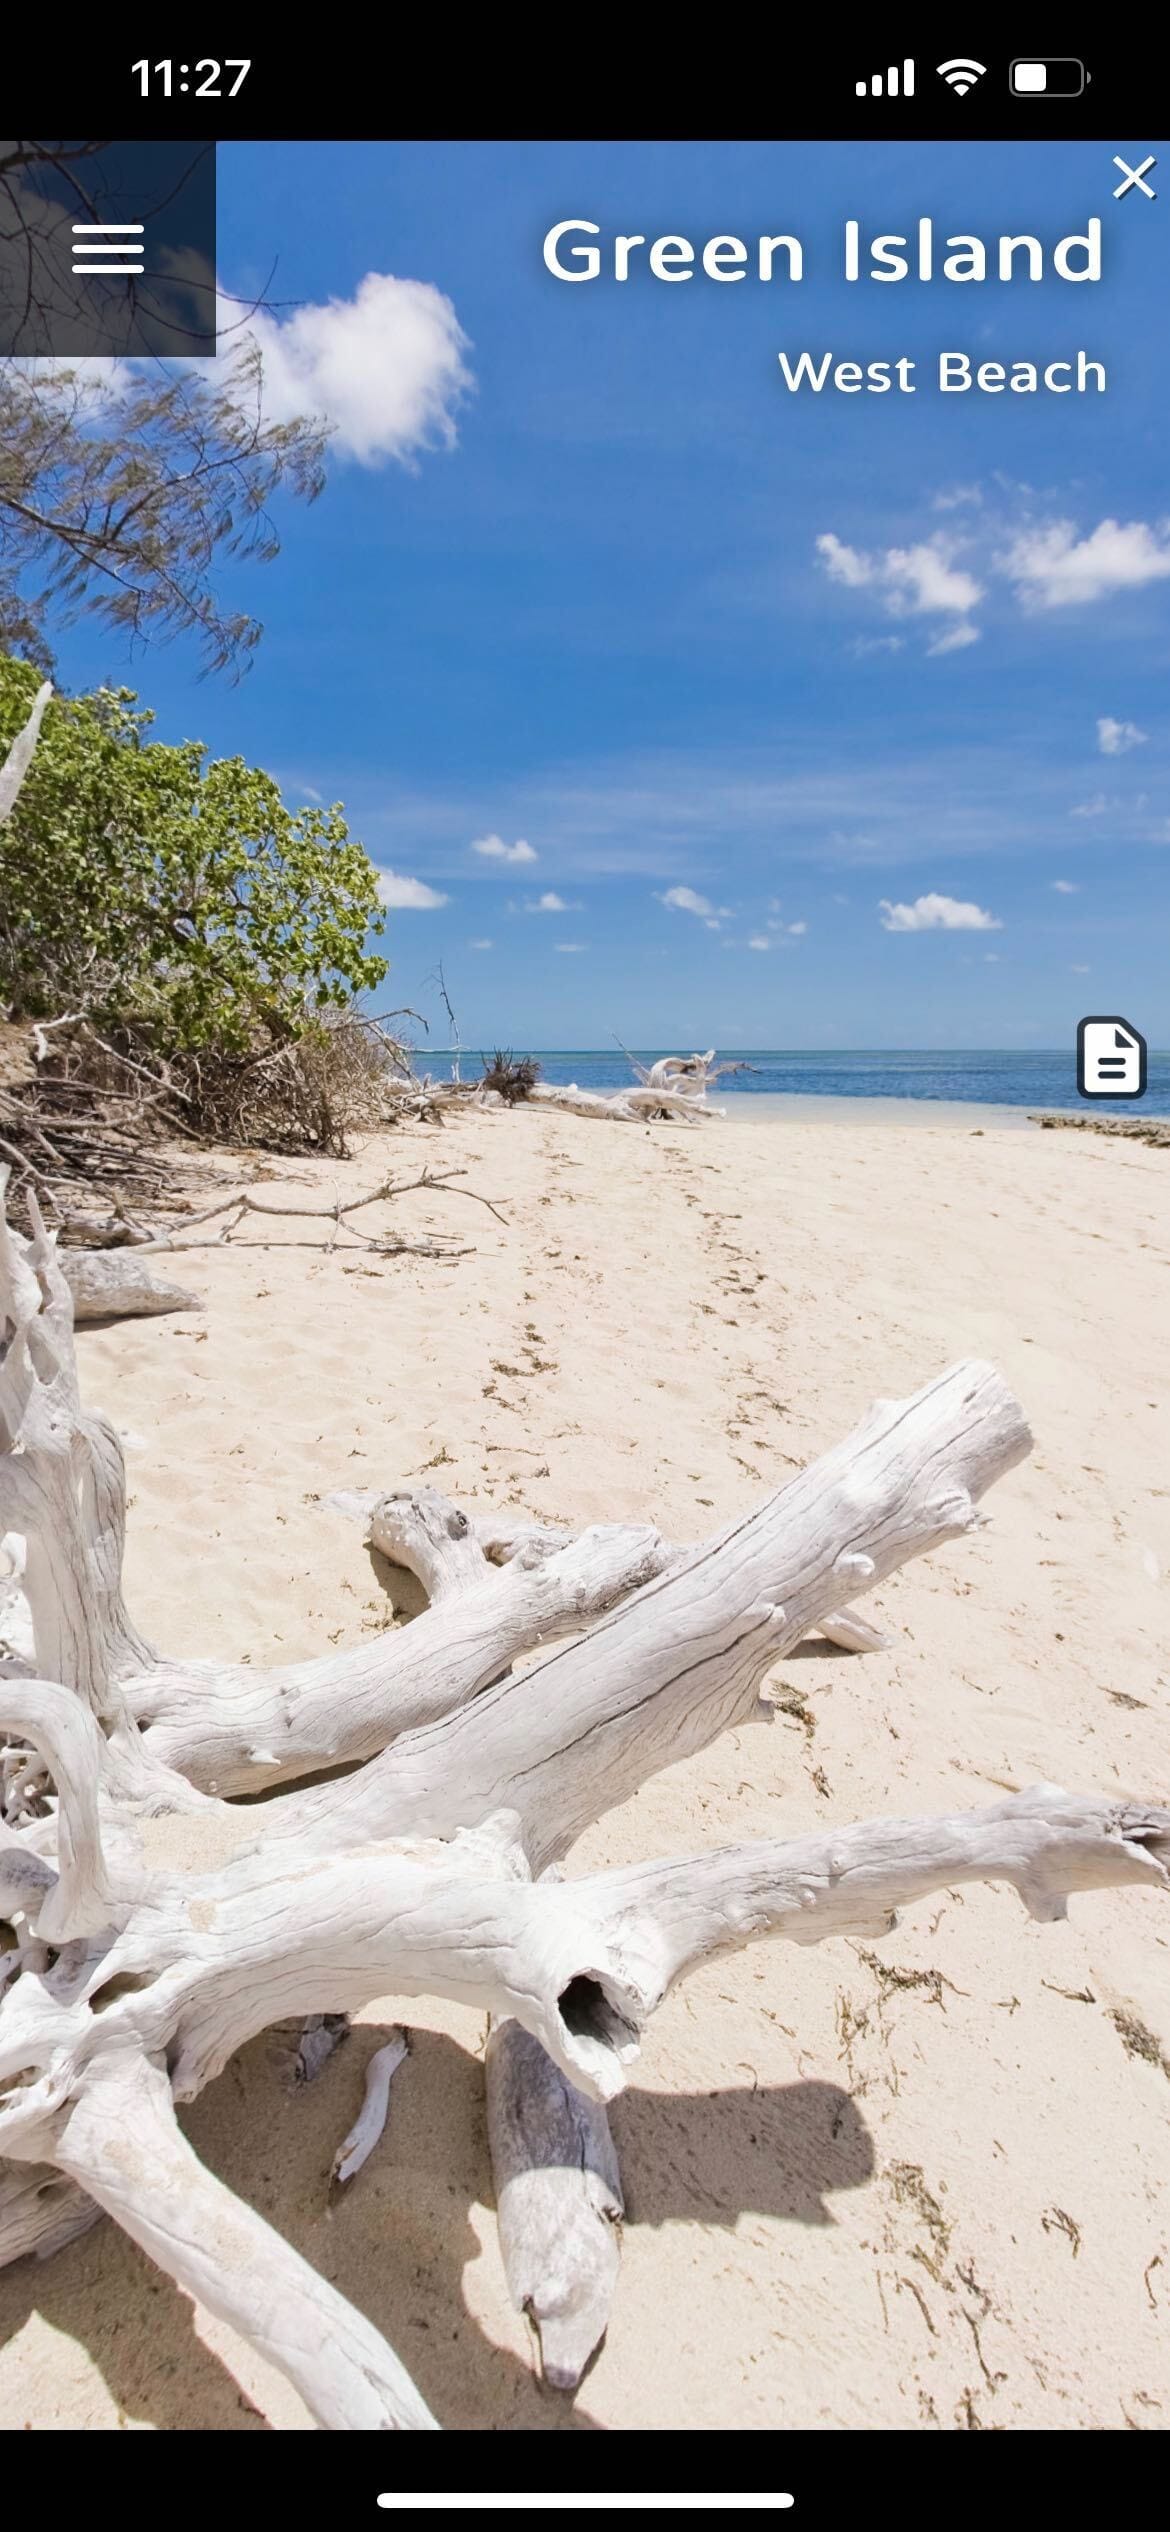
Ignore safe area – Select to let the tour fill the entire screen of devices with rounded corners or a notch. Skin elements outside of the safe area may get covered or cut off, or may not work properly. Deselect to keep the tour inside the safe area, and use it together with Use Safe Area for Position and Size for a Container Element.
Add Cache buster query parameter – Selected by default. Adds a random query parameter to the addresses of the player, the skin, the configuration, and the tiles, so that browsers load the new files after each export instead of showing old ones from their cache.
Landing Pages for Search Engines
Search engines cannot index the individual nodes of a tour because node links
like index.html#node5 all point to the same page. When Generate SEO pages
and sitemap for nodes with the seo tag is selected, every node that carries
the
tag
seo gets its own small HTML page next to the main output file, so search
engines can find and index each panorama.
-
To include a node, add the tag
seoto its User Data and give it a Title or Description. The page’s title and description come from there. Nodes with Hide in Node List selected never get a page. A project with only one node gets no landing pages. -
The page’s file name combines the output file name and the node’s custom node ID, or its node ID when it has none, for example
index_node5.html. Characters other than letters, digits, hyphens, and underscores become hyphens. -
Each page shows the node’s title and description with a link to the tour, and embeds the regular player opened directly at that node. The main page lists links to all landing pages for visitors and search engines that do not run JavaScript.
-
Every page includes social media meta tags, structured data (including GPS coordinates if the node has them), and a 1200 x 630 preview image of the node, saved to the
previewsfolder. -
A
sitemap.xmlnext to the main output file lists the main page, every landing page, and their preview images, ready to submit to search engines.
Enter the Publish URL in the Project Properties so the sitemap, canonical links, and social media tags use the complete web addresses of your tour. Without it, the sitemap only contains the file names, and the export warns you about it.
If the option is selected but no node qualifies, the export tells you so, and no
landing pages or sitemap.xml are created.